Why Flounder Keep Stealing Your Plastic Without Getting Hooked
Flounder fishing with soft plastics has gotten complicated with all the conflicting advice flying around. As someone who has waded shallow Texas bays for going on twelve years, I learned everything there is to know about this particular headache. Today, I will share it all with you.
You know the feeling. That tap — sometimes more of a thump — and you rear back hard. The plastic comes back with teeth marks and no fish. Again. And again after that.
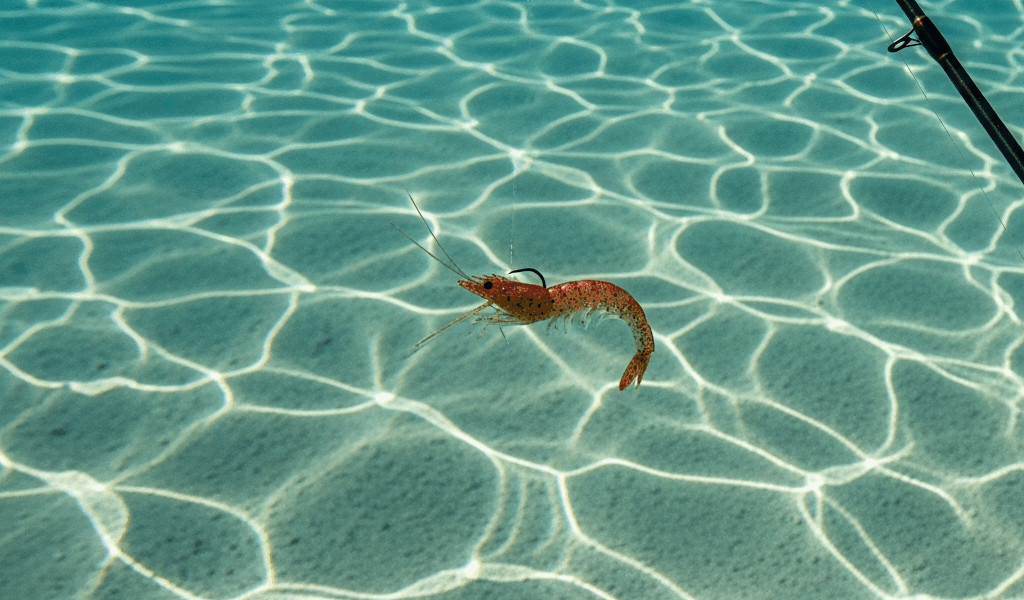
But what is actually happening here? In essence, flounder are ambush predators who engulf soft plastics rather than inhaling them. But it’s much more than that. They’re lying flat against the bottom, completely still, waiting. When your plastic crawls past, they open wide and close around it — and the window between “committed” and “ejected” is brutally short. Set the hook a half-second too early and you’ve yanked the plastic right past their teeth. Wait too long and they’ve already spit it.
That’s what makes this problem endearing to us bay anglers — it’s solvable. The retrieve speed, the bottom contact, the exact moment to set. Simple fixes, once you see the core issue clearly. So, without further ado, let’s dive in.
Picking the Right Jig Head Weight for Shallow Water
Probably should have opened with this section, honestly. Weight selection kills more shallow-water flounder presentations than bad retrieve technique ever could — and it happens before you’ve moved the rod even once.
Too heavy and you’re dragging through the strike zone faster than flounder can react. Too light and you’re bouncing across bottom irregularities without real contact. Flounder hunt by feel as much as by sight — especially in stained water. Lose that bottom contact and you’re essentially invisible.
For depths of 1 to 3 feet, start with 1/8-ounce jig heads. That specific weight maintains bottom contact without constant over-correction on your part. Sandy bottom with minimal current? A 1/8-ounce will hold through most of your retrieve and move slowly enough that the strike window actually matters.
In 3 to 4 feet, or when a stiff incoming tide is pushing hard, bump to 1/4-ounce. You need that extra mass to stay down. Here’s the tradeoff — 1/4-ounce demands real discipline on your retrieve. Most anglers don’t slow down enough. They drag at the same pace they used with 1/8-ounce and end up with a plastic pinned uselessly to the bottom instead of working just above it where flounder can actually see it. Don’t make my mistake.
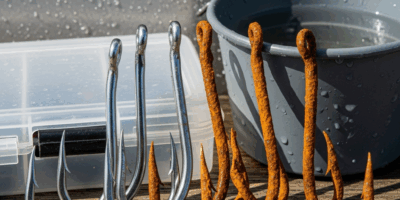
Muddy bottom changes the equation entirely. Mud is softer than sand, so 1/8-ounce sinks right into it. You lose that critical feedback through the rod. Shift to 1/4-ounce on muddy flats even in shallow water. Shell bottom — the crushed oyster shell you find along bay margins — demands 1/4-ounce minimum. Underweight on shell and you’re losing plastics to snags every third cast. Better to drag cleanly.
I’m apparently oversensitive to rod feedback and a medium-light Daiwa Tatula spinning setup works for me while heavier rods never telegraph those subtle ticks clearly enough. Simple rule: if you’re not feeling bottom every two seconds during the drag, go heavier. If it takes five seconds to sweep the rod 18 inches, go lighter.
The Retrieve That Actually Triggers Flounder to Commit
Frustrated by missed strikes, I switched to an aggressive rod-lift retrieve one afternoon and watched my hookup rate completely collapse over a single tide. One session. That mistake taught me more than months of standard dragging ever had.
The retrieve that works is drag-and-pause. Drag the plastic forward along the bottom — not upward — using a slow horizontal rod sweep. Picture a broom handle, sweeping from 9 o’clock to 10 o’clock. Roughly 18 to 24 inches of travel. That takes about two to three seconds at the right pace.
Then stop. Hold the rod completely still for one full second. This is where strikes happen. The pause lets the plastic settle and gives flounder the window they need to fully commit before you feel anything.
Drag two seconds. Pause one second. That’s your base cadence. Write it on your hand if you have to.
Current rewrites the timing though. Weak outgoing tide with minimal push — the cadence above works as-is. Strong incoming tide with real current behind your cast? Slow the drag to three seconds and stretch the pause to two. The current is already moving your plastic. You’re just steering.
Feel matters more than anything visual here. Two distinct sensations to recognize: the thump — a solid jolt, unmistakably a bite — and the tick, which is faint contact, easy to miss. Most anglers only react to thumps. Tick bites often come from larger fish that barely brush the plastic while deciding whether to commit. Wait one full second after every single tick before setting the hook.
And keep that rod low. The moment you lift instead of drag, the plastic rises off bottom and flutters. Flounder commit to the flutter, close their mouths, taste mud and nothing else. Gone instantly.
Best Soft Plastic Colors and Profiles for Murky vs Clear Water
Water clarity drives color strategy more than any other single factor — more than season, more than time of day.
Stained or coffee-colored water — common in bays with heavy tidal movement and poor light penetration — calls for chartreuse-and-white combinations. That contrast is visible from distance in dirty water. A 4-inch chartreuse-and-white paddle tail moves water, creates vibration, gives flounder something to track without relying on visibility alone. Pearl and white works too, though I reach for it less.
Clear water flips everything. Natural profiles win — pumpkin, natural shad, smoke. Flounder in clear water see everything coming and investigate less aggressively than you’d expect. A realistic baitfish profile matters more than flash or contrast. They’re selective in a way stained-water flounder simply aren’t.
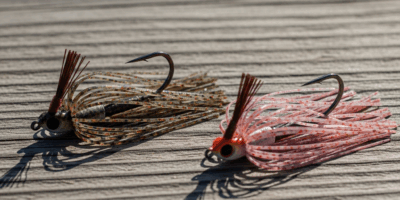
Paddle tail versus straight tail is a secondary call — but worth making deliberately. Paddle tails displace more water. Better in stained conditions or when you need vibration to draw attention from distance. Straight tails feel more subtle and natural, which favors them in clear water presentations. I carry both. If I’m not getting bit after 15 minutes, I switch profiles before I change anything else.
One specific note: the Berkley PowerBait Saltwater Shad in 4-inch, around $5.99 a pack, has been consistent across both conditions for me. Not a Berkley advertisement — just an honest observation from years of bay fishing where I’ve burned through a lot of plastics testing alternatives.
Reading the Bottom Structure Where Flounder Actually Hold
Flounder position in transition zones. That’s the whole secret, honestly. Places where bottom composition changes, where depth shifts — those edges are your hunting grounds.
Where sand meets grass, flounder ambush. Cast parallel to the grass line, not perpendicular to it. Your plastic should crawl along the edge where baitfish move between cover and open water. That’s where flounder stake out. Casting into the grass or across the flat misses the point entirely.
Drop-offs into troughs attract numbers — especially on falling tides when baitfish migrate toward deeper water. Troughs also run cooler in summer, which matters more than people realize. Position yourself up-current from the drop and cast down-slope so your retrieve works with the bottom contour.
Channel edges near flats hold flounder through the full tide cycle. They’re essentially predicting baitfish movement before it happens. Fish the edge itself — not the center of the flat, not the deep channel bottom.
Tidal movement shifts their position predictably. Incoming tide pushes flounder shallow, into the grass, across the flats as water rises and baitfish follow. Outgoing tide pulls them back toward channels and troughs. Plan your spots around the tide schedule, not around convenience.
Before any trip, spend five minutes mentally mapping three zones: a shallow flat, a drop-off, and a grass edge. Commit the structure to memory. Verify it with your electronics when you arrive, then execute the retrieve fundamentals above. That’s the whole puzzle — and now you’ve got all the pieces.
Stay in the loop
Get the latest saltwaterspots.com updates delivered to your inbox.